EN



A retailer's QC team rejected 400 units of a 25 L laptop backpack over a single measurement: the bottom seam pulled apart at 180 N when their spec said 250 N. The fabric was correct, the thread was correct, and the seam still failed, because the stitch density had dropped from 9 to 7 per inch when the line sped up. Seam strength lives in the details that do not show in a photograph. Below is how we set stitch density, thread specification, and seam type, and how we test the result before it reaches a container.
Why Seams Fail Before Fabric Does
A sewn seam is a row of holes. Every needle penetration cuts fibres, and every stitch concentrates load on the remaining ones. A 600D Oxford polyester shell can break at around 1,400 N per 50 mm in a grab test, yet the seam joining two panels of it can open at 300 N if the balance is wrong.
Three variables decide that balance: stitches per inch, thread size relative to fabric weight, and the seam type. Change one and the failure point moves from the fabric to the thread to the needle line.
The fourth variable is the operator. Our line supervisors watch stitch density at the start of every shift with a 25 mm gauge, because a machine that has been running for six hours can drift half a stitch per inch, which is enough to move a seam from passing to marginal.
Stitches Per Inch: Where We Set the Bands
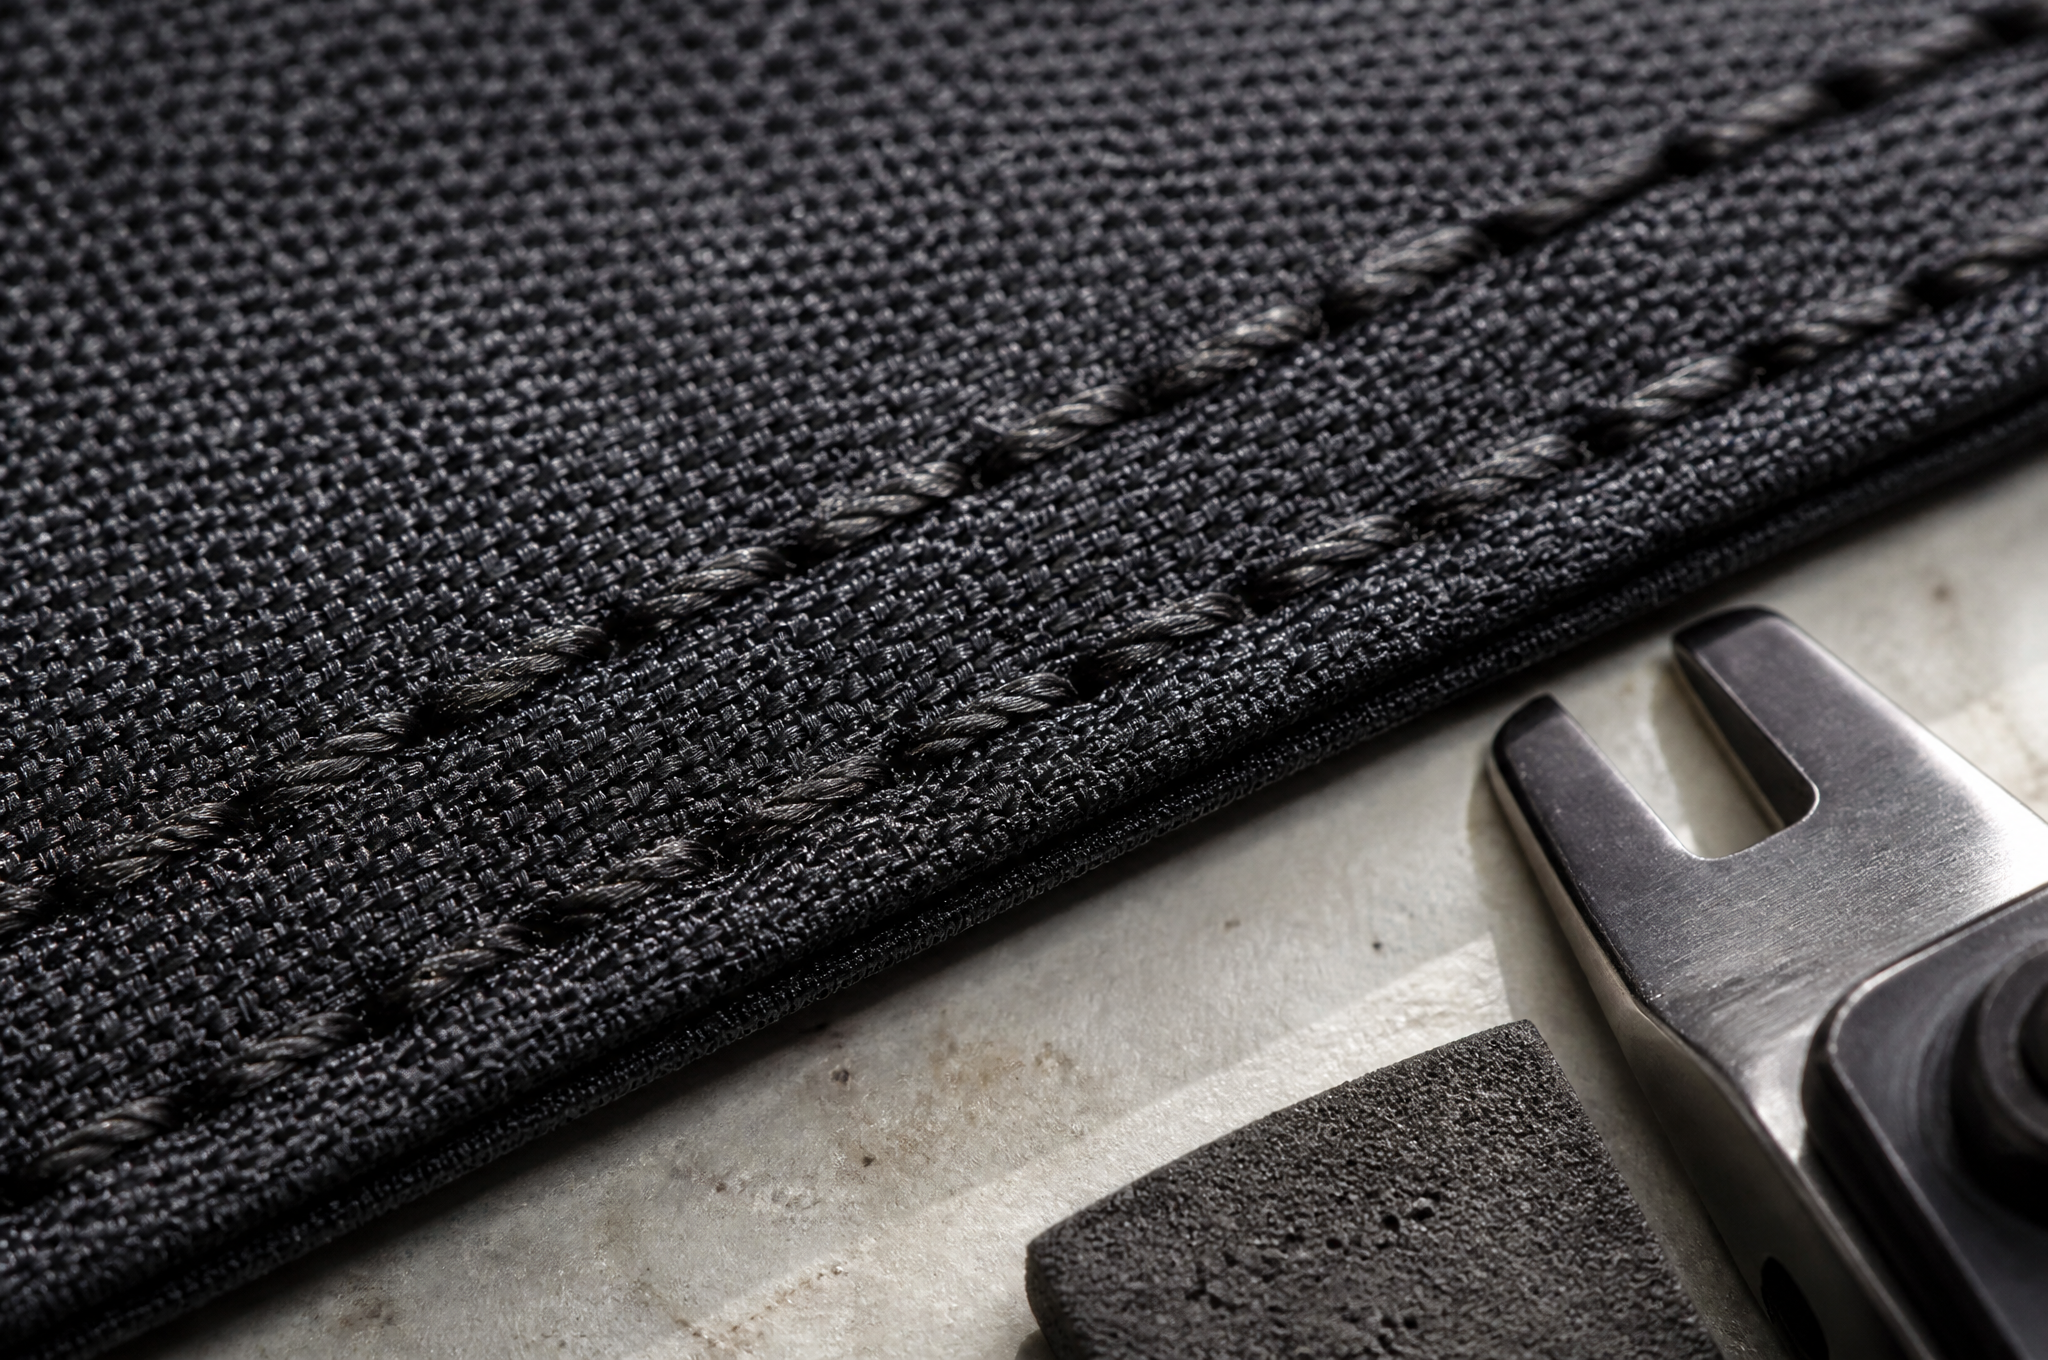
Stitch density is the first number to lock in a tech pack. Our house bands on laptop backpacks:
600D Oxford polyester shell seams: 9 to 10 stitches per inch
1680D ballistic nylon shell seams: 7 to 8 per inch, because denser stitching on 1680D perforates the heavy yarn
Laptop compartment foam-to-lining seams: 10 to 11 per inch on thin panels
Zipper tape attachment: 8 to 9 per inch, the most common weak point on a bag
Webbing and strap anchors: 9 per inch with a bar-tack, never below 8
Binding and piping: 10 per inch for a clean edge
Below 7 stitches per inch on a loaded seam, each stitch carries too much load and the fabric between stitches tears. Above 12 on a coated fabric, the needle line becomes a perforation and the coating cracks first. Both extremes look acceptable on an inspection table and both fail in use.
Stitch length is the mirror of density. At 9 SPI the stitch length is 2.8 mm. We specify length in millimetres in the tech pack rather than SPI alone, because a mechanic setting 3 mm gets 8.5 SPI and the tolerance is easier to hold in metric.
Thread Specification and Match to Substrate
Thread size is quoted in ticket number or Tex, and the two systems get mixed up in tech packs constantly. What we use:
Tex 70, ticket 69, bonded nylon: shell seams, zipper tape, general construction on 600D and 1680D
Tex 105 to 135: strap anchors, bottom panel, and any seam carrying a laptop plus tools
Tex 45 to 60: lining seams and small internal pockets, where a heavier thread would tear a 210D panel
Bonded polyester: where UV exposure is high or the buyer specifies no nylon
Unbonded or monofilament thread: not accepted on any load-bearing seam, because the knot slips and the seam unravels from a single break
Bonding matters as much as size. Bonded nylon is treated so the filaments hold together, which resists abrasion at the stitch and stops a broken stitch from running. We have cut open seams from a low-cost competitor and found a Tex 60 unbonded thread on a main zipper tape, a combination that passes a new-bag pull test and loses 40 percent of its strength after 20 wash cycles.
Thread colour gets overlooked. A dark thread on a pale lining shows every wobble, and a thread that is not colourfast bleeds into the panel beside it. On light colourways we match thread dye lot to fabric lot and keep a 200 m sample per lot for claim comparison.
Seam Types and What Each One Buys
Construction choice changes strength and cost.
Single needle lockstitch: fast, cheap, weak under peel, acceptable only on internal pockets
Double-row lockstitch: two parallel rows at 8 mm spacing, the workhorse on main compartments, roughly 1.6 times the peel resistance of a single row
Flat-felled seam: folded and double-stitched, strongest under abrasion, used on the base and side panels of tool backpacks
Bound seam with binding tape: hides raw edges, good for unlined bags, adds 0.8 g per metre of seam and a machine step
Lapped seam with topstitch: used where panels are different weights, strong in tension and weak in peel unless reinforced at the ends
Box-X and bar-tack at seam ends: the reinforcement that stops the tear at the point of load concentration
The base of a laptop backpack deserves the most attention. It takes the drop, the abrasion, and the full laptop weight. We flat-fell the base panel and back-tack the corners on every model above 20 L, which adds about 14 seconds per bag. On lower-cost models we sometimes keep a single row with a bound edge, and we tell the buyer which one their price buys.
How We Test Seams and What Counts as a Pass
We test seam strength on a universal tensile machine using a 100 mm wide strip cut across the seam, pulled at 300 mm per minute, following the grab-test logic of ASTM D5034 and the seam slippage approach in ASTM D434. Loose seam slippage is measured separately at a fixed 100 N load, where more than 6 mm of yarn movement is a fail on a coated fabric.
Our pass criteria on finished bags:
Main body vertical seams: 700 N minimum, 900 N target
Base panel seam: 800 N minimum, because it carries the drop load
Zipper tape attachment: 500 N minimum
Laptop compartment internal seam: 350 N minimum
Strap anchor seam: 900 N minimum before the bar-tack is counted
Seam efficiency, the seam strength divided by fabric strength: 75 percent or better
Seam efficiency is the number we argue about most with buyers. A seam cannot be stronger than the fabric it joins, so a 90 percent efficiency target on a 1680D shell is a request for denser stitching that will perforate the panel later. We push back on that spec in writing, because agreeing to it would win the order and lose the warranty year.
A second limitation: lab strips are cut straight and tested flat. Real seams curve around corners, cross webbing, and run over foam edges, and the machine will never reproduce a corner where three seams meet. We test those corners by hand, with a clamp and a scale, and record a lower acceptance value than the straight-run figure.
What Buyers Usually Ask First
The first question most buyers send us is whether a heavier thread automatically means a stronger bag. It does not. A Tex 135 thread in a 600D panel at 10 SPI concentrates load on fewer, larger holes and typically fails at a lower value than a Tex 70 thread at 9 SPI on the same fabric. The correct answer depends on fabric weight and seam type, and it is worth one email to settle before sampling starts.
At Tianqin, we sew shell seams on semi-automated lines with a fixed stitch-length gauge at each station, and every production run gets three seam pull tests from the first 50 bags, logged in the run record. Our 1680D and 600D shells come in with mill certificates, and we match thread ticket to fabric weight in the bill of materials rather than leaving it to the line. Automated cutting machines keep panel edges within 1 mm, which matters because a ragged edge shortens the stitch bite.
Send Your Seam Spec Before You Approve a Sample
Send us your fabric weight, your seam locations, and the load your warranty claims to cover. We will return a stitch density and thread specification per seam, a seam efficiency figure, and the cost of the reinforcement where it is needed.
Contact [email protected] or visit www.tianqinbag.com to request a sample with seam test records, get a factory quote, or start an OEM/ODM project with Quanzhou Tianqin Bags Co., Ltd. Sampling takes 7-15 working days. Seventeen years of bag production in Quanzhou, with SGS test reports available on request.

 Hot News